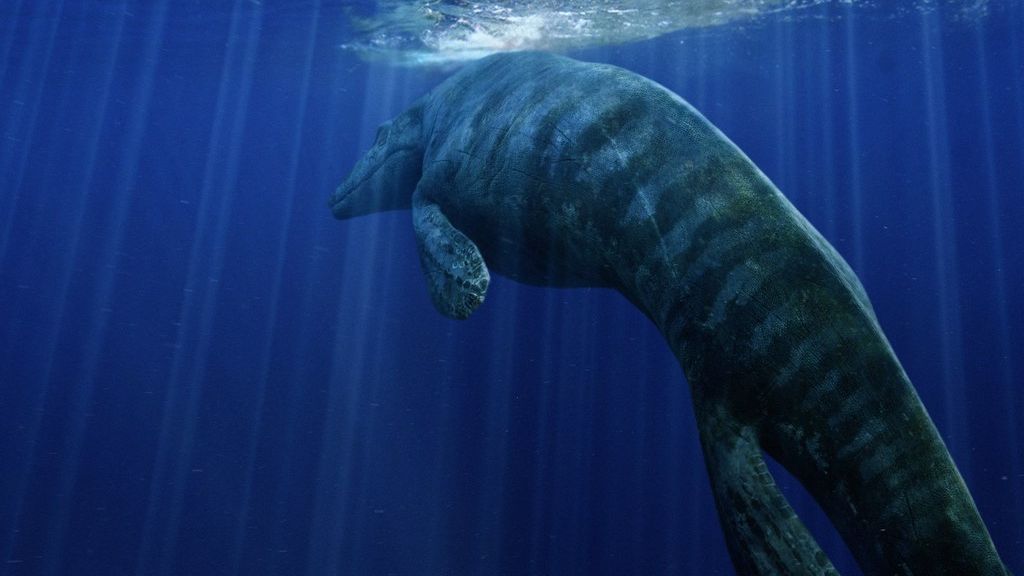
If you have ever stared at a rocky cliff or a sunbaked desert and thought, “There might be a dinosaur in there,” then you are already thinking like a paleontologist. But excitement alone will not get bones out of the ground, protect them, and turn them into real scientific knowledge. For that, you need tools – simple, rugged, and chosen with care.
What surprises many beginners is how low-tech most paleontology gear really is. You are not walking onto a dig with futuristic scanners and robots; you are showing up with hand tools, notebooks, duct tape, and sunscreen. The difference between someone who just likes fossils and someone who can actually work like a paleontologist is that you know which tools matter most and how to use them. That is exactly what you are about to learn.
1. Field Notebook and Pens: Your Most Important Fossil Is the Data
The single most powerful tool you will ever carry is not your rock hammer, it is your field notebook. Every fossil you uncover becomes almost worthless scientifically if you cannot say exactly where it came from, what layer it was in, and what was around it. You use your notebook to capture those details in real time: GPS coordinates, sketches, measurements, and quick observations about the rock or environment. Think of it as your portable brain that does not forget details six hours later when you are sunburned, tired, and hungry.
You will want a notebook with a tough cover, ideally weather-resistant paper, and pens that write even when it is dusty, cold, or slightly damp. Many paleontologists swear by simple ballpoint pens and carry several in different pockets because they always disappear. You can use colored pens or pencils to highlight different types of information – stratigraphy in one color, notes on bones in another. Over time, these notebooks become your personal fossil archive, the record that proves what you saw and what you did. Treat them like you would treat a rare specimen.
2. Geological Hammer and Chisels: Precision, Not Smashing
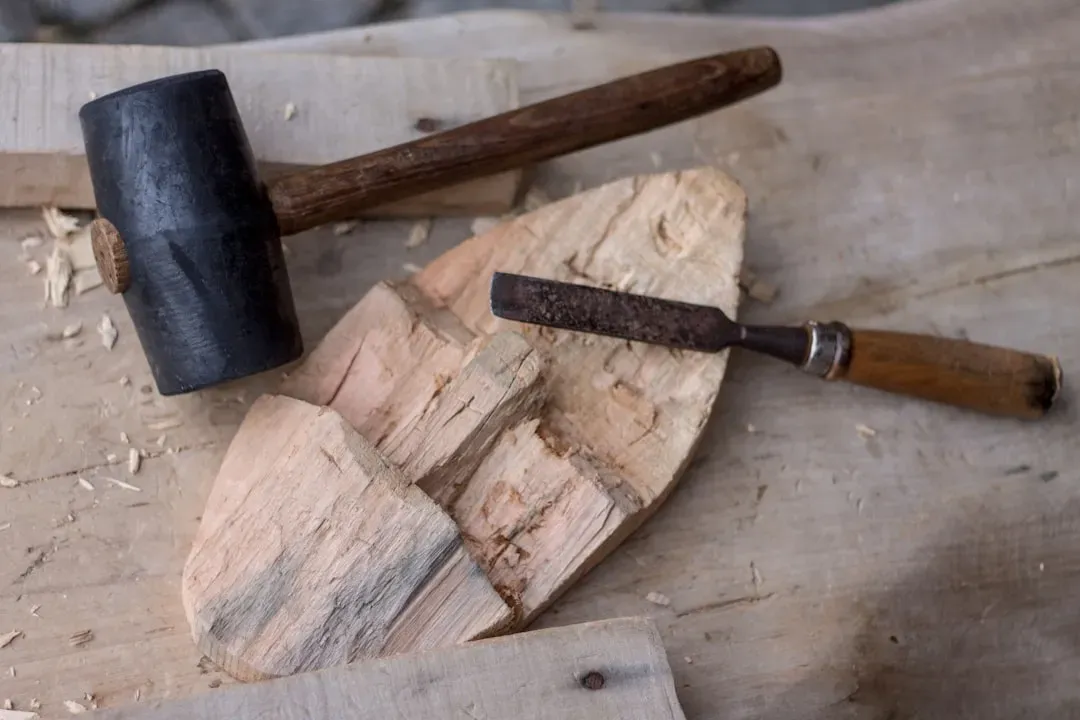
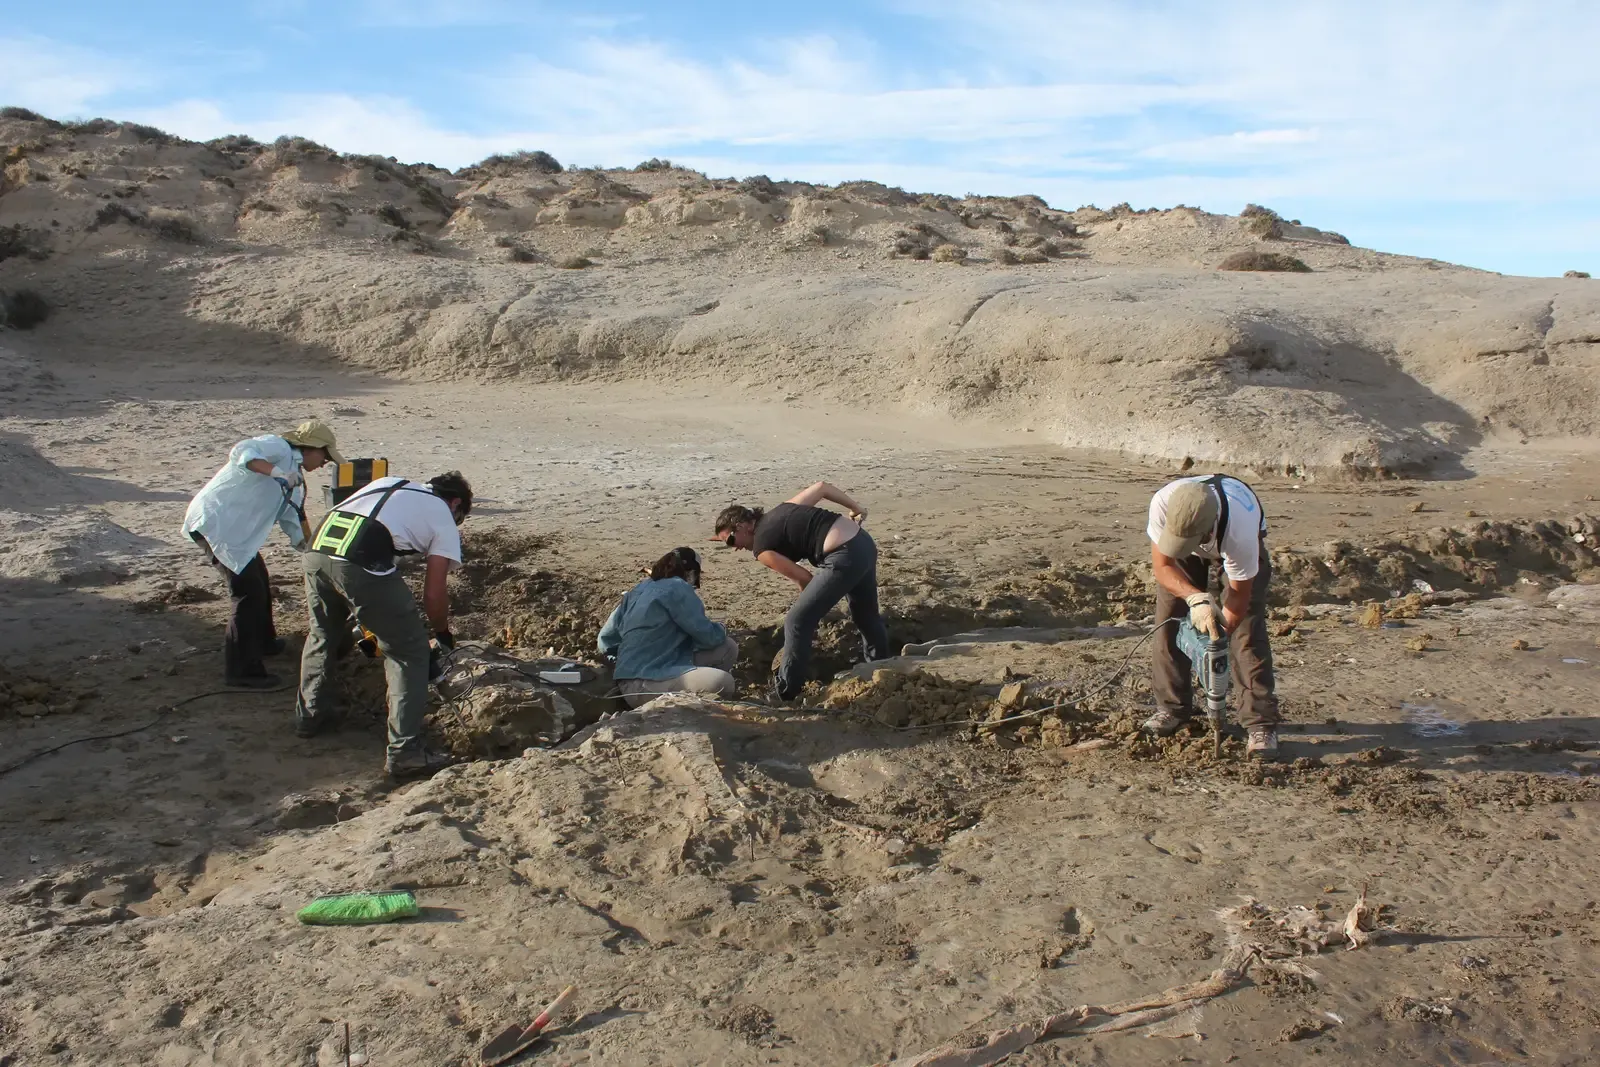
When you picture a paleontologist, you probably imagine someone swinging a big hammer and cracking rocks like a movie hero. In reality, you are doing careful, controlled work, more like a surgeon than a demolition crew. A good geological hammer with a chisel or pick end lets you chip away rock a little at a time, following natural cracks and bedding planes rather than randomly smashing. You are not trying to destroy the rock; you are trying to peel it back like layers of an onion without hurting what is inside.
Solid chisels made from hardened steel give you even more control. You position the chisel exactly where you want the rock to fracture, then tap lightly, listening and feeling for the rock to respond. Overstriking with a hammer is one of the fastest ways to damage fossils, so you learn to be gentle. You also never use the point of your hammer directly on a fossil; that is a classic rookie mistake. Your hammer and chisels are there to remove what is around the fossil, not to touch the fossil itself.
3. Brushes, Dental Picks, and Small Tools: The Fine-Tuning Kit
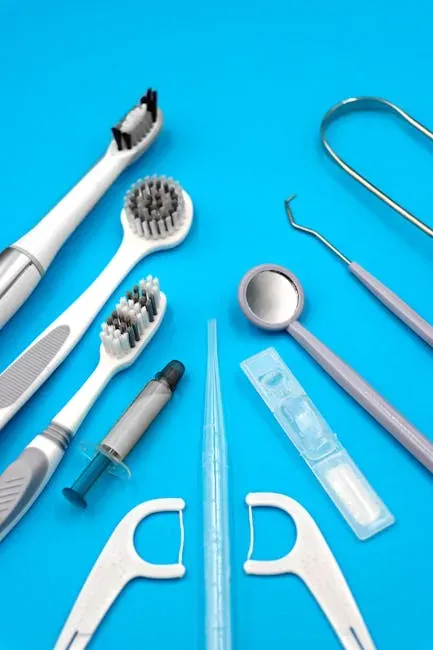
Once you get close to bone, you switch from heavy tools to delicate ones. Soft brushes let you sweep away loose dust and sand without scratching the surface. You might use everything from large paintbrushes for removing bulk sediment to tiny, stiff-bristled brushes for detailed work. The trick is simple: the closer you get to the fossil, the softer and smaller your tools need to be. You are revealing a fossil, not cleaning a barbecue grill.
Dental picks and small hand tools are your precision instruments. They let you work around fragile edges, tease out fine details of bone, and remove thin layers of matrix a fraction of a millimeter at a time. You learn quickly that patience beats strength; taking an extra hour at this stage can mean the difference between a complete, well-preserved specimen and a shattered puzzle. Keeping these tools clean, sharp, and organized in a small roll or box turns you into a calmer, more confident digger.
4. GPS, Maps, and Compass: Never Lose Your Fossils – or Yourself
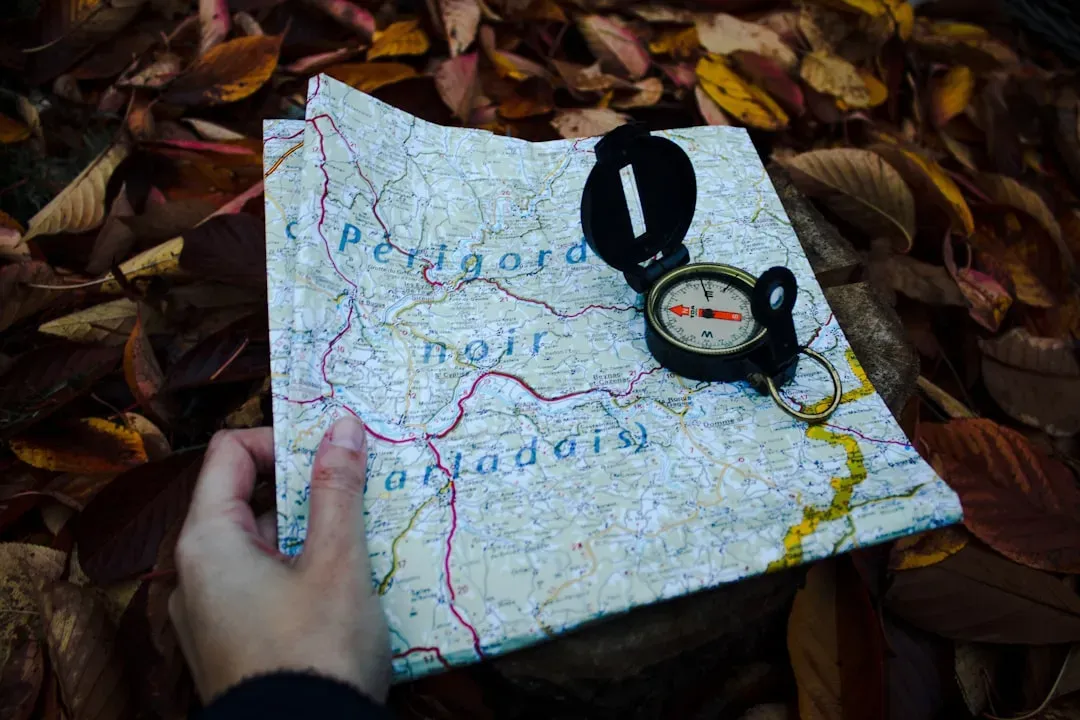
Every fossil has two identities: what it is and exactly where it came from. GPS devices and maps make sure you can always answer that second question. Even a simple handheld GPS or a reliable offline phone app helps you record precise locations of quarries, fossil finds, and reference points. You jot those coordinates into your notebook and later tie them to geological maps, satellite images, and stratigraphic diagrams. Without that, you just know you “found it somewhere out there,” which is not good enough for serious work.
A physical map and a compass might feel old-fashioned, but you will be very glad you have them when batteries die or signals drop. They help you navigate back to camp, plan safe routes, and understand how your fossil site fits into the larger landscape. When you can stand on a hillside, look at the map, and say, “This layer continues over that ridge,” you are thinking like a field scientist. Location tools are not just about safety; they are about turning random discoveries into meaningful patterns.
5. Measuring Tools: Turning Bones into Data
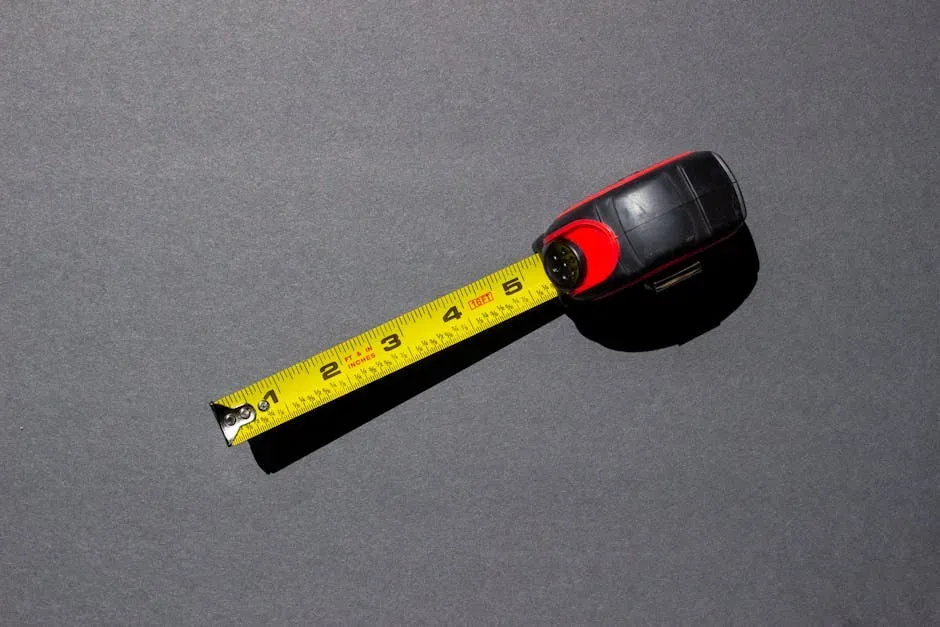
If you want to move beyond “this is a cool bone” into real science, you need measurements. Simple tools like measuring tapes, rulers, and calipers let you turn fossils and rock layers into numbers that you can compare, analyze, and share. You might measure the length of a femur, the thickness of a shell, or the depth of a stratigraphic layer. Those numbers are what end up in research papers, museum records, and databases, not just descriptions like “big” or “small.”
A flexible measuring tape is perfect for curved surfaces or long distances, such as tracking how far a bone bed extends across a hillside. Rigid rulers and calipers shine when you need precise measurements of small features, like tooth spacing or growth rings. You will also use line levels or small clinometers to estimate the angle of rock layers. Each time you measure, you are training your eyes and brain to see fossils as part of a bigger geometry of life and rock, not just as isolated objects.
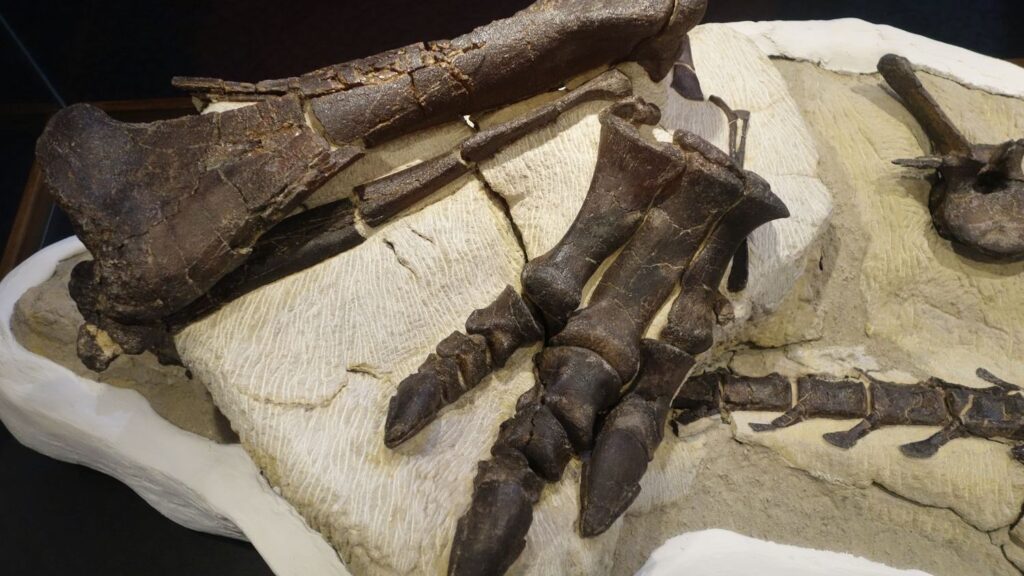
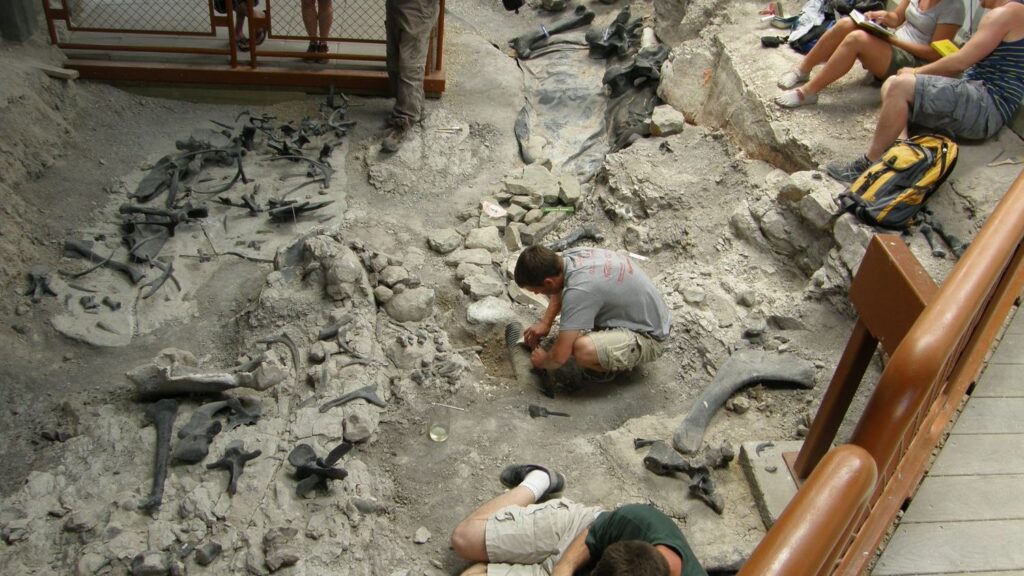
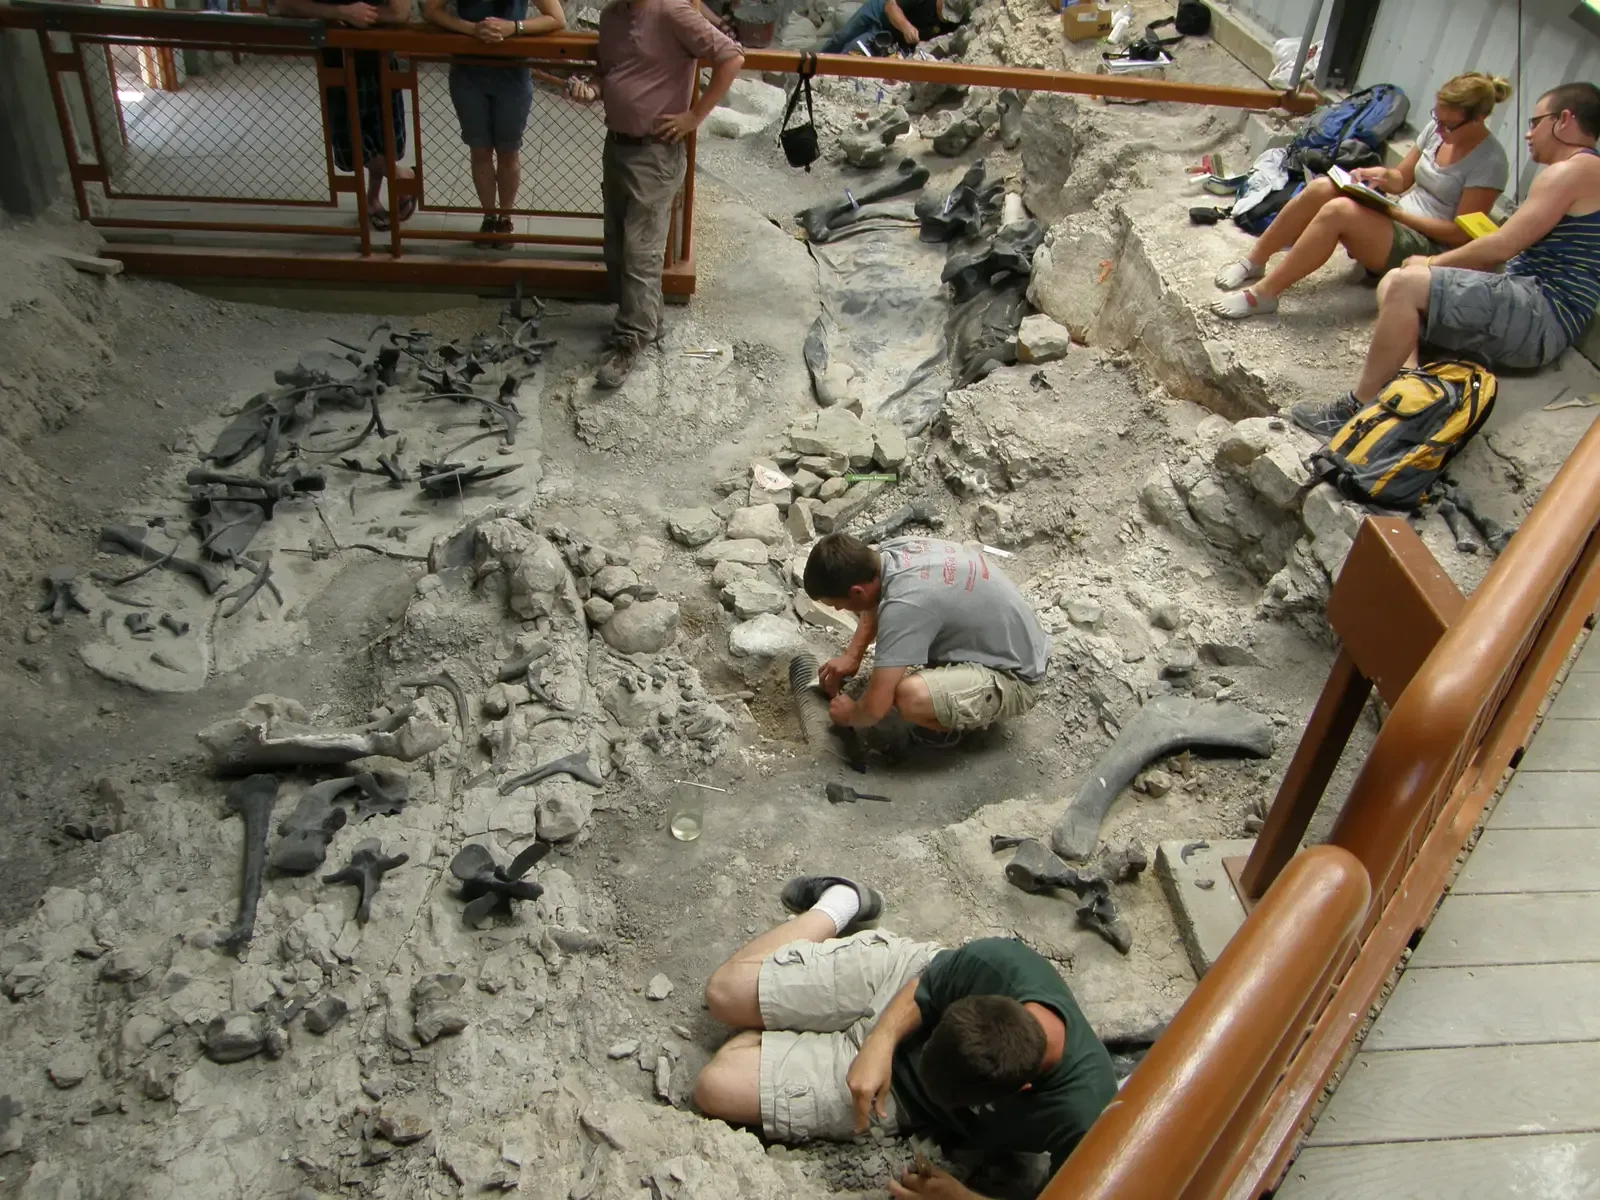
6. Plaster, Burlap, and Field Jacketing Supplies: Safe Transport for Fragile Fossils
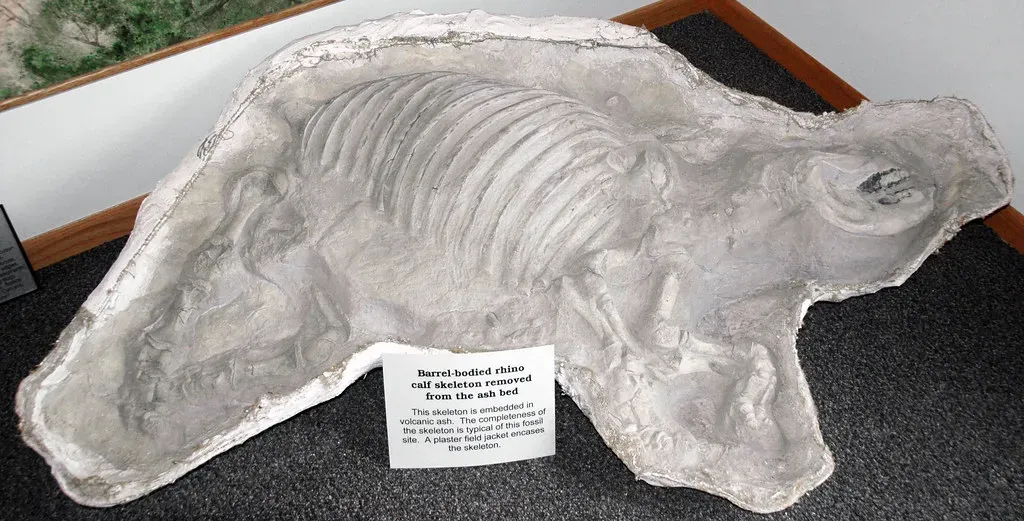
Finding a fossil is only half the story; getting it out of the ground in one piece is the other half. That is where plaster, burlap strips, and basic field jacketing supplies come in. Once you expose enough of a fossil to understand its shape and size, you leave part of it in the matrix and create a protective shell around it. You wet burlap strips, dip them in plaster, and wrap them around the block like you are casting a broken limb. When the plaster hardens, it becomes a sturdy jacket that holds everything together.
You also use tools like aluminum foil, tissue, or toilet paper directly on delicate surfaces before the plaster goes on, so the jacket does not stick to the bone. Underneath, you might pack gaps with paper or sediment to prevent fossils from rattling around. It feels a bit like building a custom suitcase around something priceless. When you flip the jacketed block and carry it out, you are moving not just a fossil but also the context around it, ready for careful preparation back in the lab.
7. Personal Protective Gear: Protecting the Scientist Protects the Science
Paleontology can look romantic in photos, but in reality you are kneeling on rough ground, swinging tools, and spending long days in harsh weather. Safety gear is not optional if you want to keep doing this for years. Sturdy gloves protect your hands from sharp rocks and blisters. Safety glasses or goggles keep rock chips out of your eyes when you swing a hammer or use a chisel. Good boots with ankle support help you handle uneven terrain, loose scree, and occasional climbs.
You also cannot ignore the slow, quiet threats: sun, heat, and dehydration. A wide-brimmed hat, breathable long sleeves, sunscreen, and plenty of water are just as important as your hammer. Many paleontologists also use kneepads, back support belts, or simple foam pads to make hours of crouching and crawling less punishing. When you protect your body, you not only avoid injuries that can end a field season early, you also keep your mind clear for the careful decisions that fossil work demands.
8. Sample Bags, Labels, and Storage Containers: Organization from Day One
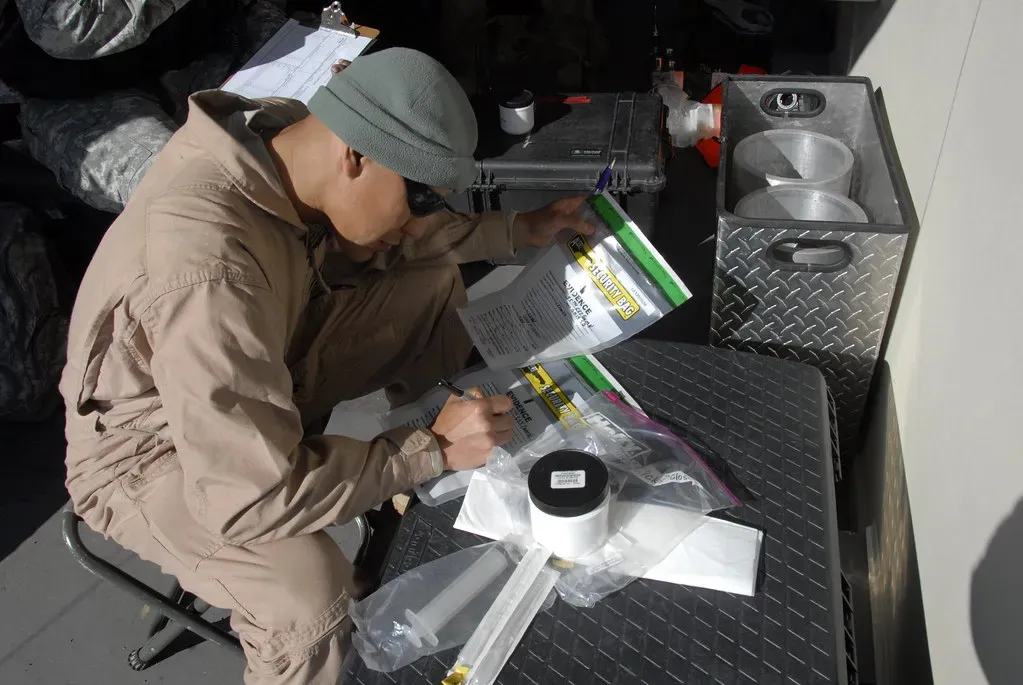
One of the biggest differences between an amateur collector and a paleontologist is how carefully you label and store what you find. Small fossils, rock samples, and sediment often go into zip bags, paper envelopes, or small plastic containers. Each one needs a durable label that will not smudge or fall off: specimen number, location, date, layer, and any notes that matter. You always write the same information in your field notebook so that if a label gets damaged, you still have a backup record.
It sounds tedious, but organized samples save you countless hours later and can rescue a project if memory fails. You might think you will never forget where a certain bone came from, but after a week in the field, every sandstone ledge can start to look the same. Using consistent labeling systems, permanent markers, and tough bags or boxes turns your backpack into a mobile archive. When a small fragment ends up being more important than expected, you are ready because you treated it with the same care as a complete skeleton.
9. Camera or Smartphone: Capturing the Story in Real Time
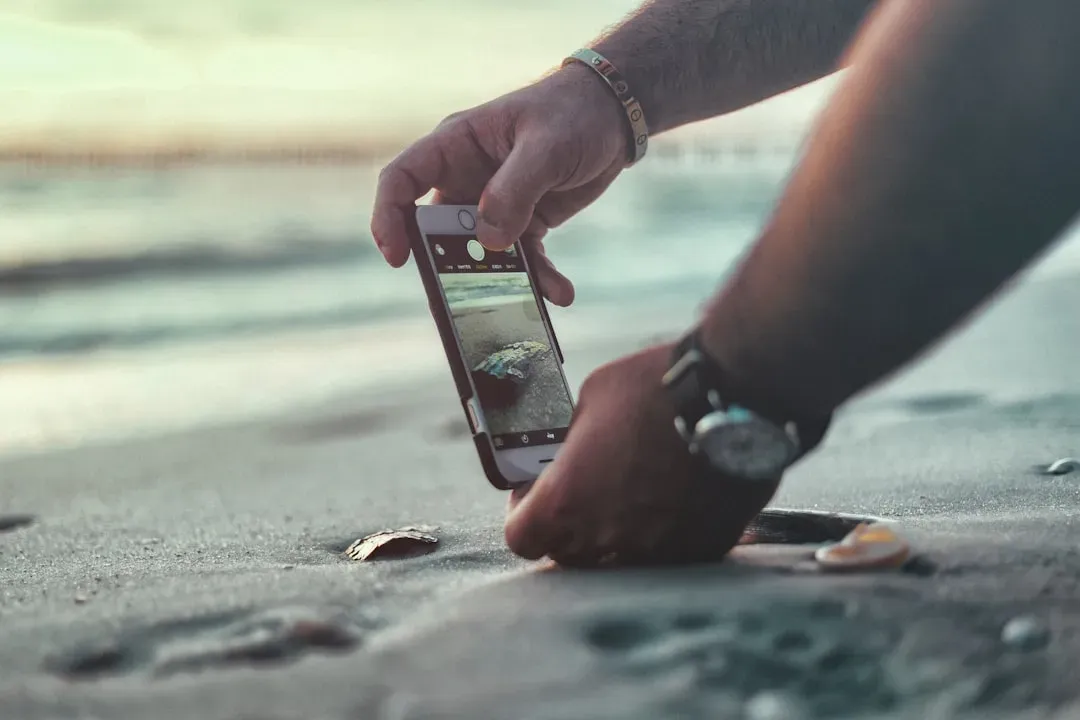
Photos and videos are not just for social media; they are an essential scientific record. A simple camera or smartphone lets you capture a fossil exactly as it appeared in the ground before you touched anything. You can photograph each stage of excavation, the surrounding rocks, nearby landmarks, and even your notebook pages. Those images become visual proof of what happened and help you reconstruct details long after the site is covered up or eroded away.
You also use your camera to document subtle things your memory will blur, like the color differences between rock layers or the orientation of bones. Short video clips of your process, your observations, or your team’s discussions can be incredibly helpful later when you are writing reports or planning new work. Even if you are not in a formal research project yet, building the habit of documenting everything visually will make you a far stronger and more credible aspiring paleontologist.
Conclusion: Building Your Paleontology Toolkit, One Field Day at a Time
When you lay all these tools out – a notebook, hammer, brushes, GPS, tape measure, plaster, safety gear, bags, and a camera – they might not look dramatic. But together, they turn your curiosity about ancient life into something solid and testable. With them, you can walk into a rocky outcrop and come back not just with fossils, but with real data, preserved safely and described clearly. That is what separates casual collecting from actual paleontology, even if you are just starting out.
The good news is that you do not need to buy everything at once or wait for some official permission to begin learning. You can start small: practice making careful field notes on a local hike, photograph rock layers near your home, or gently clean a legally collected fossil with simple tools. Each time you act like a paleontologist, those tools become extensions of your eyes, hands, and mind. So the next time you see a promising layer of rock, you will not just be daydreaming about dinosaurs – you will be ready to work like someone who might actually find one. If you had to pick just one tool to master first, which would it be?